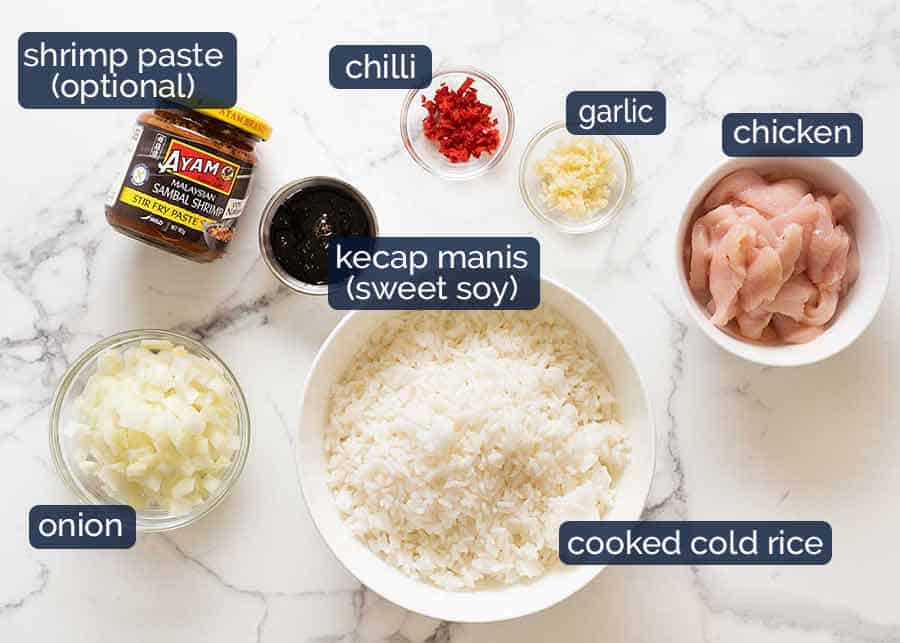
Nasi Goreng
Anyone who has been to Bali would be familiar with Nasi Goreng and probably had it almost every day because it’s everywhere and darn delicious! So for those who have tried and love Nasi Goreng, you will be surprised how easy this is to make in your very own home. And for those who haven’t tried it, I hope you do! The literal translation of Nasi Goreng is “fried rice” in Indonesian and Malaysian – and that’s exactly what it is! It’s mainly rice with just a little bit of meat and just onion for the vegetables. The thing that distinguishes it from other Fried Rice dishes is the sauce which is made with kecap manis, a sweet soy sauce that stains the rice dark brown and caramelises the rice when it cooks. Typically it’s served with a sunny side up egg (love how the yolk runs into the rice!) and a side of fresh cucumber and tomato (no dressing) to make a meal of it.
Shrimp Paste is optional!
As with almost every traditional dish, there are many versions of Nasi Goreng. Some are more complicated than others, calling for the use of dried shrimp (belacan) which, astonishingly, is now sold in large supermarkets in Australia as well as Asian stores. I make it with, and I make it without. It’s tasty even without dried shrimp – and in fact, when I originally shared this Nasi Goreng recipe in 2016, I chose the version without shrimp paste because of that reason. But it is tastier and more authentic with dried shrimp. So I’ve compromised and taken the easy route by using shrimp paste rather than dried shrimp which requires more effort in the preparation process (crumble and toast before using).
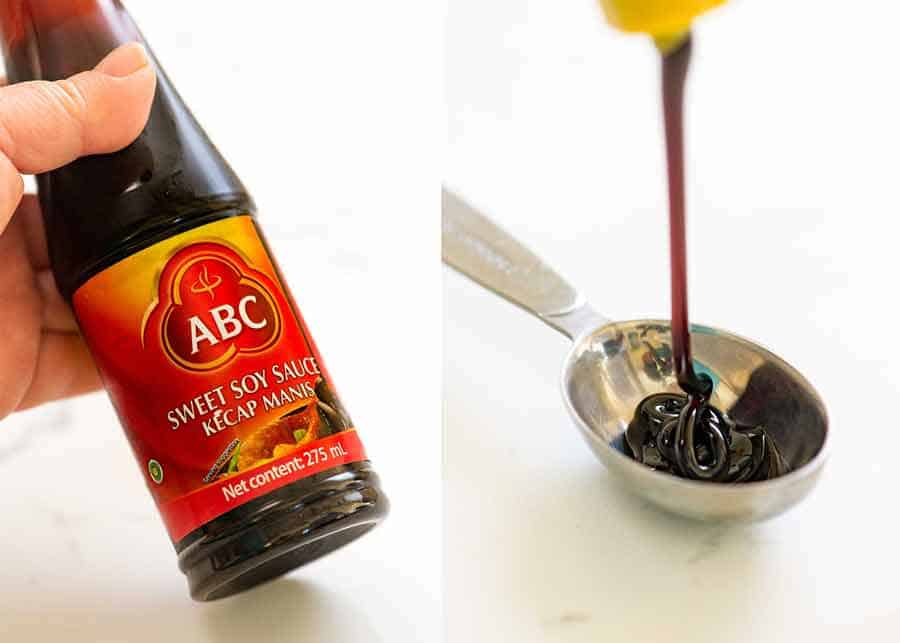
Kecap Manis (sweet soy sauce)
A distinguishing feature of Nasi Goreng is the dark brown colour of the rice from the kecap manis / ketjap manis which is an Indonesian sweet soy sauce. It’s thicker and sweeter than normal soy sauce, with a consistency like syrup. Don’t go running for the hills thinking it’s a hard-to-find-ingredient! Here in Australia, kecap manis is available in major supermarkets (see here for Woolworths). And if you can’t find it at your supermarket, don’t worry! It is SO easy to make – just reduce soy sauce and brown sugar. Seriously. I’ve included directions in the recipe for you.
Cold, day old rice is not optional!
While shrimp paste is optional, the COLD cooked rice called for is not! It’s simply not possible to make any fried rice with hot, freshly cooked rice – it gets kind of stickier when stir fried in sauce. On the other hand, day old cold rice is drier and harder, so the rice can be stir fried in the sauce in a way that makes it become caramelised which gives Nasi Goreng the signature colour and flavour. Speedy option: Cook the rice, spread out on tray then FREEZE for 1 – 2 hours, or refrigerate for 3 – 4 hours. It’s not just about cooling the rice, it’s also about making the surface of the rice dry out.
Super quick 20 minute recipe
The making part is very straightforward, no different to typical fried rice recipes. Garlic, chilli and onion first, then chicken, then rice, kecap manis and shrimp paste, if using. Cook for a couple of minutes until the rice grains start to caramelise. Trust me – you will know when it’s ready, it smells amazing!
How to serve Nasi Goreng
Nasi Goreng is traditionally served with a fried egg and a side of fresh vegetables (commonly plain juicy wedges of tomato and cucumber). Both these side options are very typical in various parts of Asia to add protein and vegetables to a plate to turn something carb-heavy into a meal. Nasi Goreng is also a terrific Asian side dish option, something a little different that packs a bit of a flavour punch! Try it on the side of:
Indonesian or Thai Chicken Satay Skewers Asian Marinated Chicken Asian Chilli Garlic Shrimp/Prawns – big punchy flavours, tastes like Thai Chilli jam! Marinated Thai Chicken (Gai Yang) Chinese Barbecue Pork (Char Siu)
Or have a browse of my Asian recipes collection for more ideas! I do hope you try this. Super tasty, it’s probably one of the most flavour packed Asian fried rice dishes! – Nagi x
Watch how to make it
Nasi Goreng recipe originally shared March 2016. Updated June 2019 with new photos, new writing, brand new video, slight recipe improvement and most importantly, Life of Dozer added!
Life of Dozer
Annual check up – passed with flying colours! And he behaved pretty well too…. until he saw the needle….
…. but the teeny tiny little prick was soon forgotten as he launched himself onto the reception desk for treats. 🙄 The wonderful team at Mona Vale Vetinary Hospital spoil him!! (And you know I totally love it)
SaveSave


